Ok y'all...I have to admit...V'day is NOT one of my favorites...I'm thankful I wasn't there yesterday - ha!
And after reading a lot of your posts, I realize I should have prayed harder for y'all! lol...even my sub said she had a rough day!
Yes, I'm thankful that I missed Vday...
Especially since HERE is how I spent my v'day...
|
Weeee!!!
 |
| chillin' at the park |
 |
| hi there! |
 |
| v'day picnic at the park :) |
And hubs and I laid on the couch, watched the boob-tube and fell asleep - ha!
~~~~~~~~~~~~~~~~~~~~~~~~~~~~~~~~~~~~~~~~~~~~~~~~~~~~~~~~~~~~~
I had a few people ask..."HOW do you make the background paper??"
Well...mind you, I don't know how to do fancy shmancy stuff (THAT would be the HUBS...p.s. he just got a new program, so WATCH OUT! lol..hmmm...that means I'll never get to use his laptop, and I hate always being stuck in the office on the desk top...maybe it's time I get a laptop for myself?? lol), but I can do basics!
I don't have a cool video and it'd take me FOREVER to do the pictures, with directions, but I can type a step by step on how to make background paper...
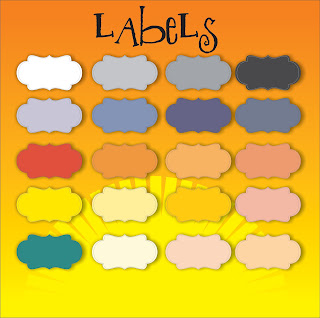
like these...
The programs I use are Microsoft Publisher and Paint...
this is just how I do it...Hubs has no idea how to do it this way, and I'm sure other "clip art people" do it differently too.
1) in publisher, make a rectangle (the basic shapes) and cover the page with it and then format it and fill it with whatever color you want...I did red for the stripes and triangles ones...
2) add whatever else you want on there - I did white stripes by adding in very skinny rectangles and filling them in with white, or I made the triangles (also in the shapes) and filled them in with torqouise.
3) once you are all finished putting whatever you want in, then select all (ctrlA) and copy (ctrlC) and then paste (ctrl V) into paint.
4) use the select tool and crop your page (I usually have things sticking off the edge of my "paper" so this is where I trim it...it looks pretty jagged when I'm in publisher, so don't worry about having perfect edges in publisher, you can clean them up in paint!)
5) once you have it cropped how you want it, then save it as a jpeg - and voila! You have a background pic you can use whenever you want :)
Let me know if you still have questions!
~~~~~~~~~~~~~~~~~~~~~~~~~~~~~~~~~~~~~~~~~~~~~~~~~~~~~~~~~
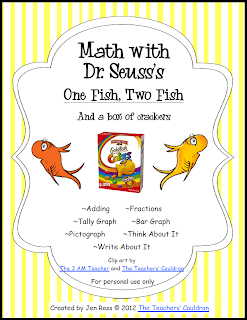
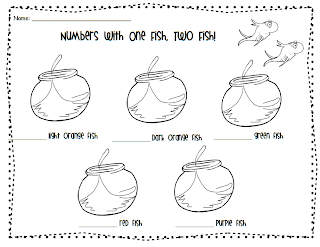
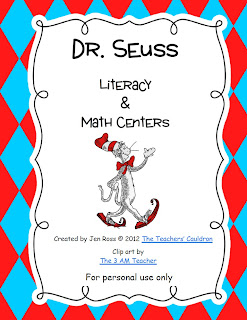
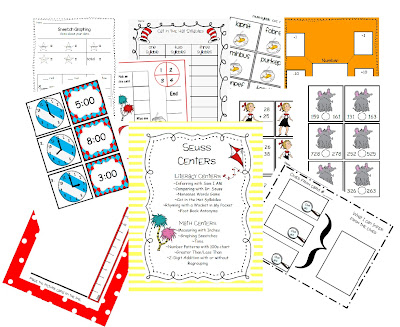
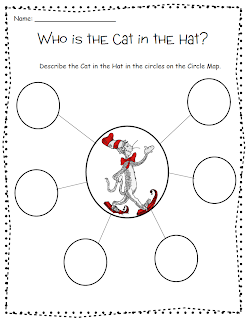
Here's another addition to my Seuss theme items :)
I love doing these things...
There are 6 sentences for them to unscramble. There are 2 versions of the writing sheet - a colored one and a black/white.
The sentences do not have capitalization or punctuation to give the kids more writing skills practice :)
It's for sale..for a $1 :)
BUT, I wanna give The Sentence Scrambler pack to 3 people who comment...but NOT the first three...lol! I'm always so bummed when I miss those, and I miss those a lot!
So, I'm going to give everyone until tomorrow morning when I wake up to leave your comment (so, like 24 hours I guess?), then with a sip of my coffee (hopefully!), I'll do the random number thingy...make sure you leave your email so I can email it to you :)
SOOOO....just leave one comment telling me your favorite Dr. Seuss story or characters...and why. I love hearing these :)
It'd also be GREAT if you would be a follower of my
TpT store!! hehe
While you're there you can check out my Dr. Seuss bundle!! Which is also sold in separate bundles :)
P.S....
I just came across a new Kinder blog yesterday, after she admitted to me that she was following me around blogland...ha! Not really, but it was funny. She's a new blogger, so go check her out! She's really cute... I love getting new bloggers some "love/new followers."